I recently purchased a staple-free stapler, which joins up to five sheets of paper. It punches and folds the paper in a special way so that they stay together.
I tried punching too many sheets of paper, and the device jammed and fell apart. So I figured out how to take it apart.
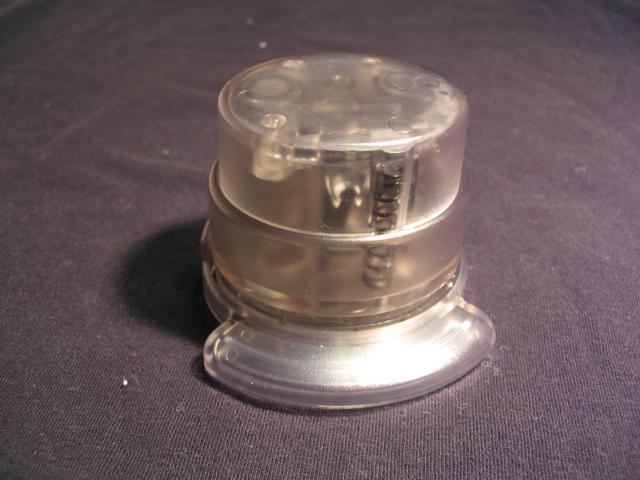
Here is a picture of the stapler before disassembling it.
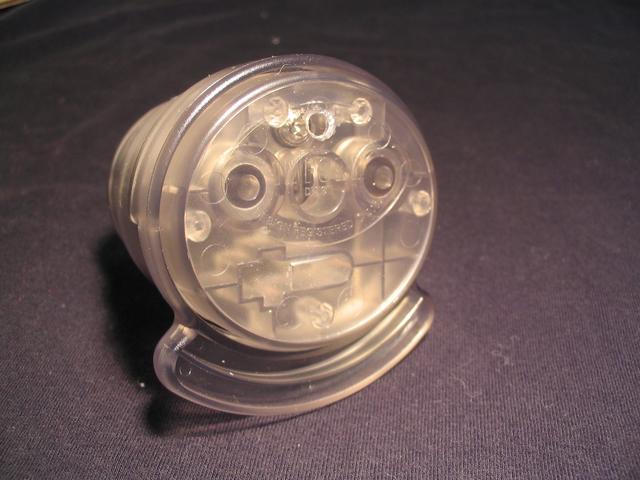
This is the bottom of the stapler. The drilled hole near the top was not there originally.
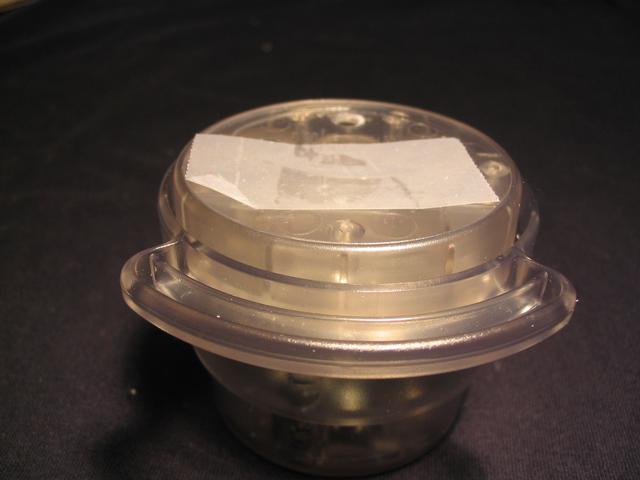
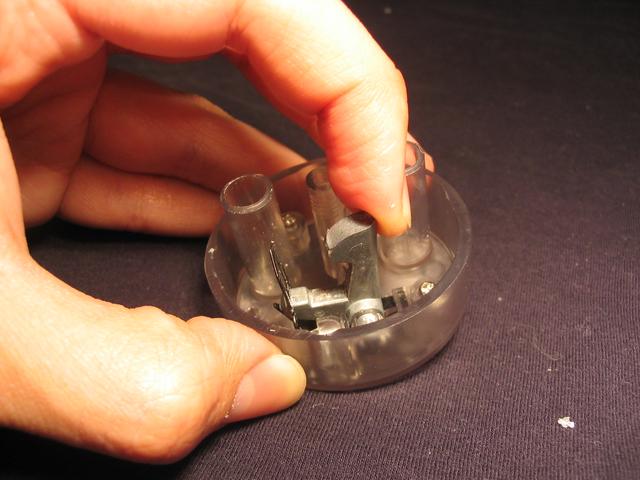
Step 1. First, remove the bottom plate. There are no screws holding it in, so it is just a matter of prying it off. One way to do this, as shown in the picture, is to place a piece of tape on the bottom of the stapler.
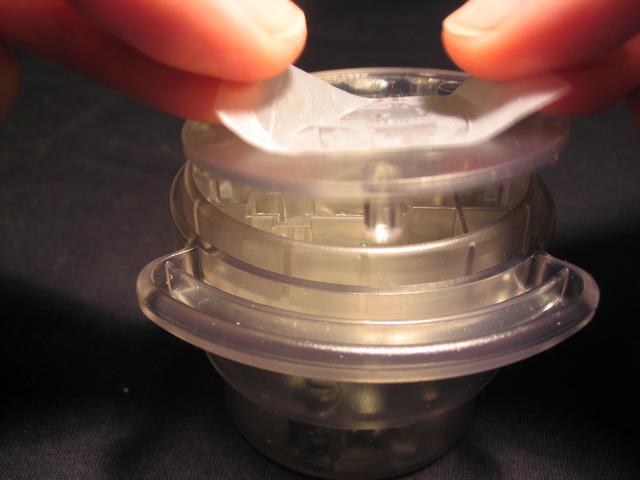
Then pull up on the tape, and the bottom piece should come up with it.
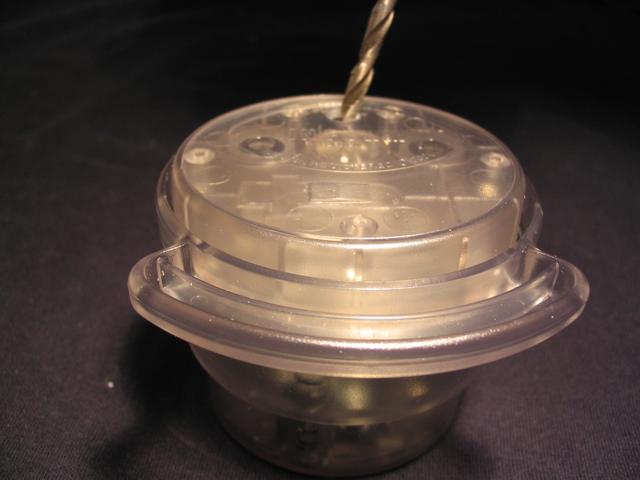
Alternatively, drill a hole through the bottom, directly over the screw.
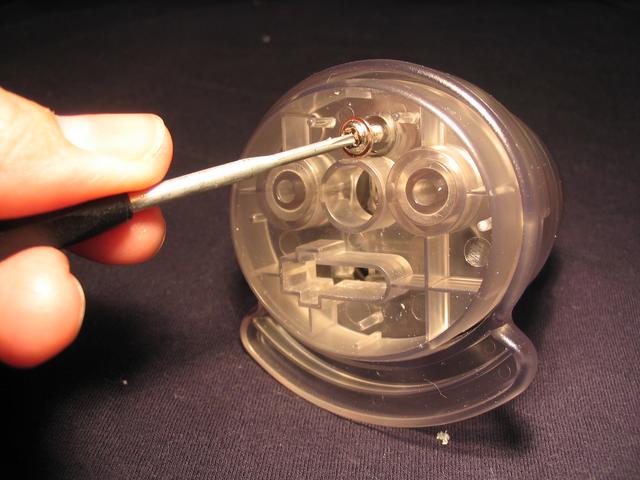
Step 2. Unscrew the one screw that has now been exposed. Then remove the piece of plastic at the bottom.
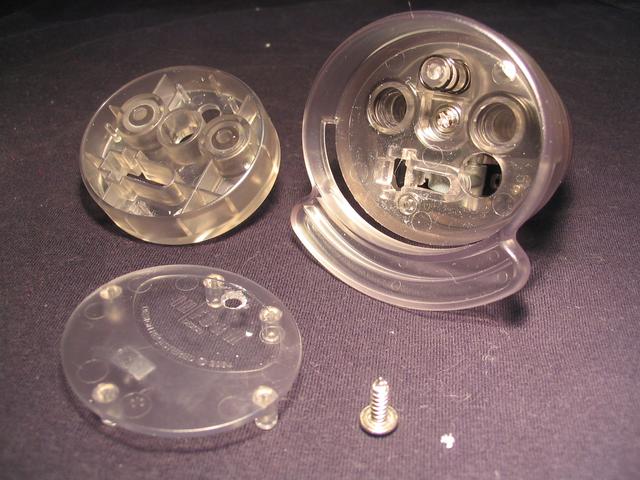
Here are all the pieces you should have now: two pieces of plastic from the bottom, the remaining body of the stapler, and the screw.
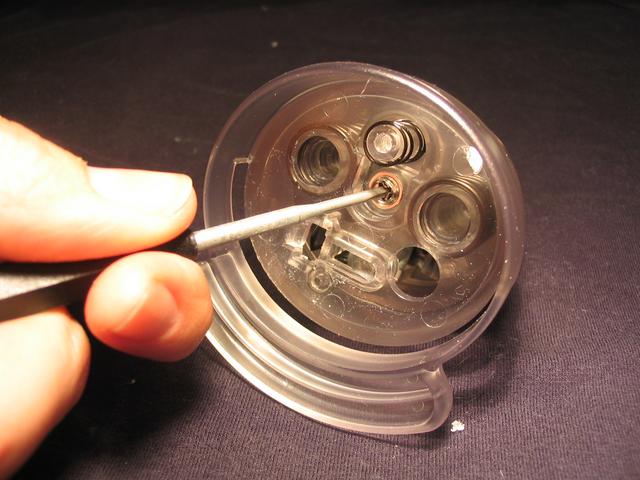
Step 3. Another screw should now be exposed. Unscrew it and remove the piece of plastic that it was holding.
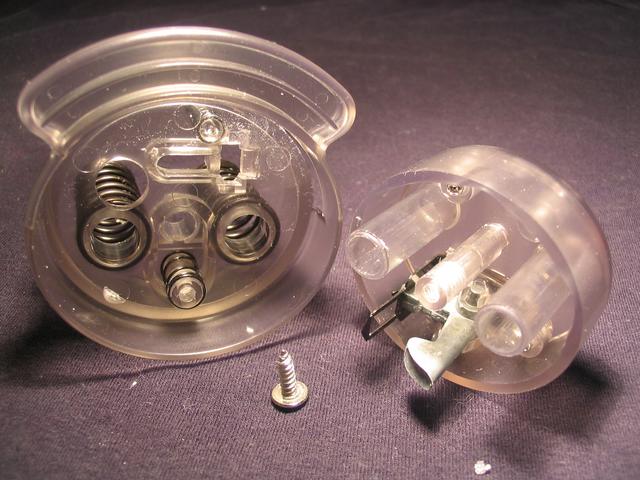
You should now have the parts shown in this picture: the top piece of plastic with several springs in it, and the bottom piece of plastic with some metal parts.
Observe how the metal parts fit together in the stapler.
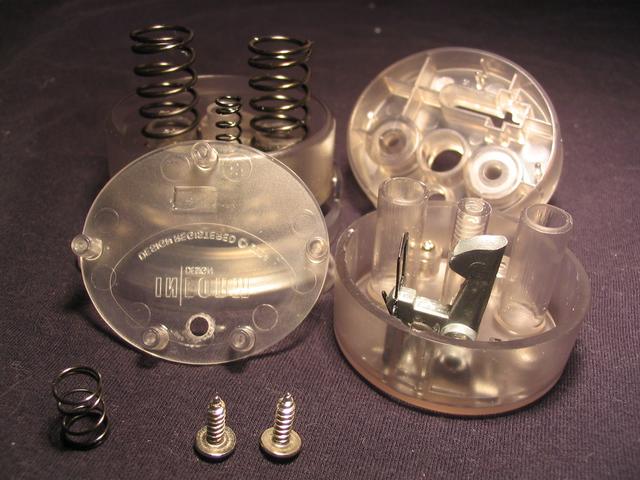
Here are all the parts. Put them back together in reverse order.